
This site contains affiliate links which means we may receive a commission from purchases made through links. We will only recommend products we have personally used! See our privacy policy.
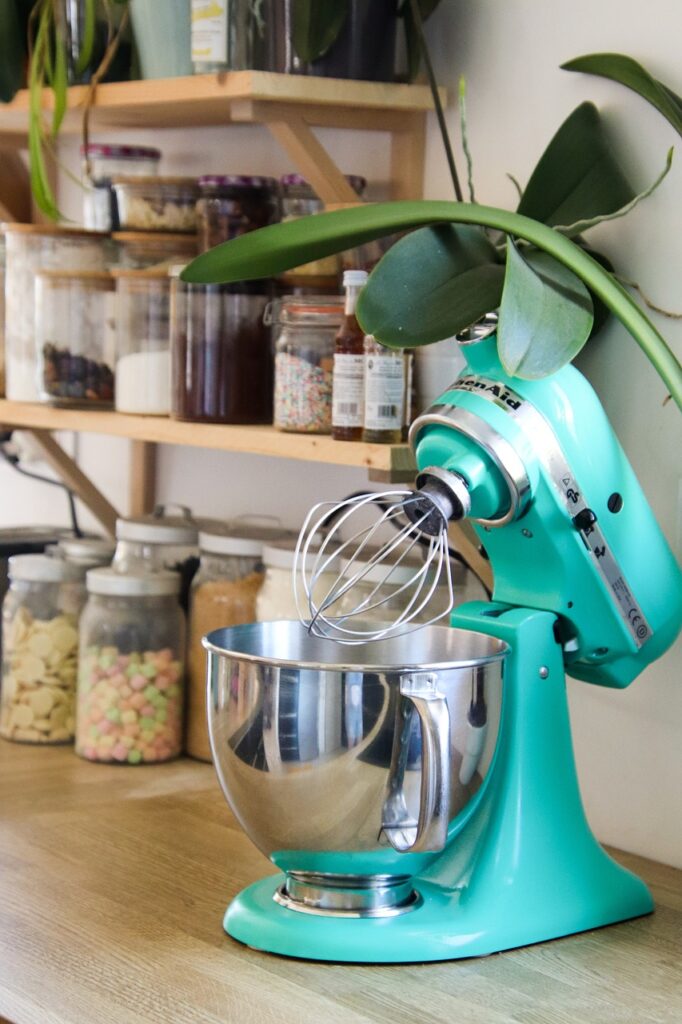
Mixer: A cookie bakers secret weapon when it comes to mixing.
Sugar Cookie Dough: Ready to take your sugar cookie game to the next level? In this blog post, we will explore the 10 step art of making sugar cookie dough using the one and only mixer. With its unlimited mixing capabilities, you’ll achieve consistent and evenly mixed dough every time. Let’s get into it!
We all know there is something special about biting into a neatly baked sugar cookie. The soft crumble, the vanilla aroma, and the softly sweet flavors that bring comfort to our taste buds. The key to achieving this magic cookie lies in the art of the sugar cookie dough, and the mixer.
Why Choose a Mixer?
The mixer is a cookie maker’s secret weapon. Its motor strength and many attachment options make it the most versatile tool for creating any type of dough, including sugar cookie dough. With its powerful mixing ability, it effortlessly cuts through the ingredients, delivering consistent dough each time. You will never mix by hand again after you experience the ease of mixing with the KitchenAid mixer. You don’t have to buy the most expensive one out there either. Even their base model is more than suitable and packs a huge punch to your mixing game. With various color options to match any theme you can save that arm strength for cookie curls once we are finished.
Sugar Cookie Recipe: Traditional dough for a Sugar Cookie.
Round up the following ingredients:
1 cup granulated sugar
1 cup of unsalted butter
1 large egg
1 teaspoon vanilla
3 cups all-purpose flour
1/2 teaspoon baking powder
1/2 teaspoon salt
Putting it all together:
1. Using the stainless steel bowl (A) and rubber paddle included with your KitchenAid mixer start to mix together the soft butter and sugar on medium speed until mixed together.
2. Add the egg and vanilla to the butter mixture and continue mixing until consistent.
3. Off to the side in a different bowl (B) whisk together the flour, salt and baking powder.
4. Slowly add the dry mixture from bowl (B) to the wet ingredients in bowl (A) mix on low speed until the dough is mixed together and no lumps of flour are visibly present.
5. Once the dough has arrived, remove the dough from the bowl (A) Split the dough into two parts and wrap each portion with plastic wrap. Chill the dough in the refrigerator for about an hour or until firm.
6. Preheat the oven to 350°F and line your baking sheets with baking mats or parchment paper.
7. Get your dough out of the refrigerator and on a clean dry surface sprinkle some flower down so the dough doesn’t stick to the counter top. Using a wooden rolling pin, roll out the dough to your desired thickness. Now with your cookie cutter press into the dough to cut out shapes and lay them onto the baking sheets. Make sure you leave a little room between each cookie. Approximately 1 inch should do.
8. Bake each batch of the cookies for 10 to12 minutes or to your desired preference. The edges should darken up a little.
9. Upon removal from the oven you will want to let the cookies stand for a few minutes before you scoop them off the cookie sheet with a spatula. This should let them cool just a bit and firm up a little so they aren’t too soft to scoop. Once you feel the cookies are ready to be transported go ahead and gently scoop and transport the cookies to a flat surface or rack to cool.
10. Taste test. This is a step you already know how to do. Be sure and blow on the cookie so you don’t burn your tongue and the roof of your mouth.
It is recommended that you allow the cookies time to cool down 100% before trying to add the frosting.
One of the biggest mistakes people make is trying to decorate and add frosting while the cookie is still too warm. This causes the icing to melt and makes it tougher to make a neat cookie.
Ultimately, the ‘s ease of use while making cookie dough is the reason we recommend it to everyone who is serious about making sugar cookies. By following the steps above, you’ll be on your way to the perfect sugar cookies.
We will get into decorating and design ideas in our next blog post. Check out our gallery for cookie decorating ideas.
Enough reading for now! Get up. Go gather the ingredients and get to baking!
Staff- WyoCookieJar